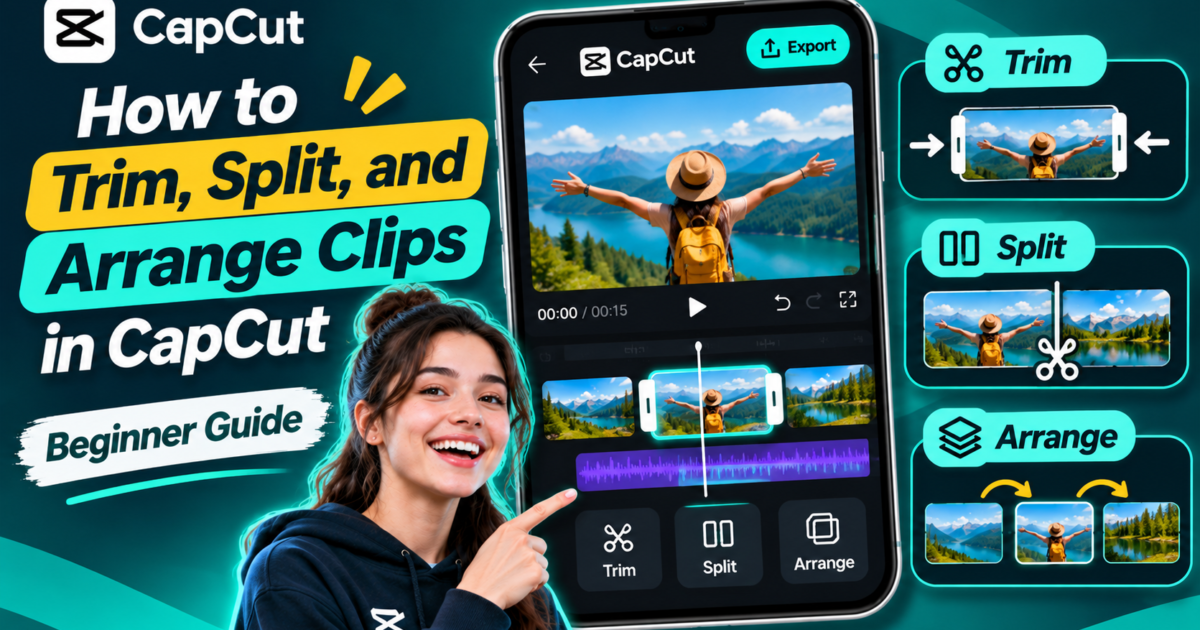
Editing a video is easier when you work in a clear order: choose the clips, remove the parts you do not need, check the sound, then export. This beginner guide explains the process in CapCut. Menus may vary between Android, iOS, and desktop versions.
1. Start a project
Open CapCut and choose New project. Select videos you have permission to use and add them to your timeline. Decide whether the final video is intended for a vertical mobile screen or a horizontal presentation before placing captions.
2. Trim the beginning and end
Tap a clip in the timeline and drag one of its edges inward to shorten it. Watch the result: a good trim removes pauses or accidental camera movement while preserving the important moment. Repeat with each clip.
3. Split a clip to remove a section
Move the playhead to the start of the section you want to remove and use Split. Move to the end of that section and split again. Select the unwanted middle section and delete it. Play the clips on both sides to make sure the transition feels natural.
4. Arrange clips in the right order
Reorder clips to tell a clear story. Begin with the most important scene, add supporting shots, and end with a useful conclusion. Use transitions sparingly: a simple cut is often clearer than an elaborate effect.
5. Adjust sound and captions
Listen with headphones if possible. Check that speech is easy to hear and background audio does not overpower it. Add captions for important spoken words, then review the wording manually. Automatic captions can make mistakes with names and uncommon terms.
6. Preview before exporting
Play your entire project. Look for abrupt cuts, misplaced text, music that starts too loudly, and clips that do not fill the frame as intended. Correct those issues before choosing your export settings.
7. Export and check the result
Choose a resolution and frame rate that suit the original footage and your intended platform. Higher settings do not restore detail that was never present. Export the video, then open the saved file to verify that audio, captions, and timing are correct.
Common problems
Why does a clip look blurry?
The source clip may be low-resolution, excessively cropped, or compressed by the platform where it is shared. Start with a higher-quality original when available.
Why do captions get cut off?
Text placed close to the edge may be covered by app controls. Keep captions inside a comfortable safe area and preview the result on a phone.
Does a transition always help?
No. Use an effect only when it makes the change between scenes clearer.
For official product help and the latest feature details, consult the CapCut website. This independent guide is for learning video editing and does not provide modified app files.
[…] your video still needs basic cuts, follow our beginner’s guide to trimming and arranging clips in CapCut before generating the final set of […]
[…] basic editing before captioning, our guide to trimming and arranging clips in CapCut explains how to organize the video […]
[…] you need to prepare clips before applying a template, our beginner guide to trimming, splitting, and arranging clips explains the timeline […]
[…] a custom video without templates, start with our guide to trimming, splitting, and arranging clips in CapCut. You can create a useful edit even without a ready-made […]