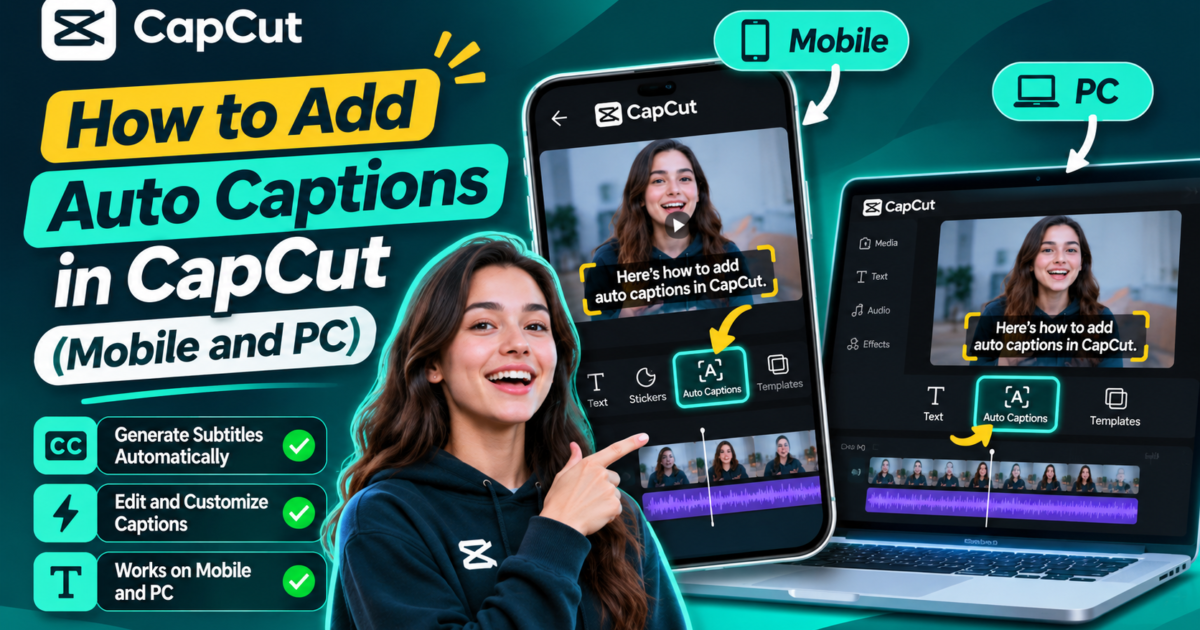
Want captions on your CapCut video without typing every word? Open your project, find Captions → Auto Captions (or Text → Auto Captions in some versions), choose the language spoken in your video, and select Generate. CapCut will turn recognized speech into editable text on your timeline. You should still check the words and timing before exporting.
This guide explains how to add auto captions in CapCut on Android, iPhone, Windows, and Mac, plus the web editor. You will also learn how to correct mistakes and make captions easier to read. Menu labels can vary by app version, device, region, and plan.
Quick Steps: Auto Captions in CapCut
| Device | Where to find the tool | What to do |
|---|---|---|
| Android or iPhone | Captions → Auto Captions (sometimes Text) | Choose spoken language, tap Generate, then edit |
| Windows or Mac | Captions → Auto Captions (sometimes Text) | Select audio and language, click Generate, then review |
| Web browser | Captions → Auto Captions | Choose language, generate, and correct text |
These navigation paths are based on CapCut’s published instructions; they are not screenshots of a particular app version.
What Are Auto Captions in CapCut?
Auto captions use speech recognition to create on-screen text from the words heard in a video’s audio. Instead of entering each line yourself, you let CapCut build a first draft and then make corrections.
They can be handy for a talking-head video, a tutorial, an interview, or a short clip with a voiceover. Captions also help viewers follow a video when they cannot hear it clearly.
Auto captions are different from manually adding a title. A title stays where you place it; generated captions are divided into timed segments intended to follow the spoken words. The result is convenient, but it is not a guaranteed word-for-word transcript.
Before You Start: Prepare the Video
A little preparation can save you a lot of correction work later:
- Check the sound. Play a few seconds and make sure the speech is actually audible. A muted or silent clip cannot provide words to transcribe.
- Use the right language. Pick the language the speaker is using, not the language of the captions you eventually want to display.
- Keep music under control. Loud background music, overlapping voices, and echo can confuse speech recognition.
- Check connectivity. CapCut says caption generation can depend on online processing, so an unstable connection may interrupt it.
- Save your project. Keep an editable draft so you can fix captions without recreating the video.
If your video still needs basic cuts, follow our beginner’s guide to trimming and arranging clips in CapCut before generating the final set of captions.
How to Add Auto Captions in CapCut on Android and iPhone
The overall process is similar on both phone platforms. Buttons may move after updates, so look for the feature name if it is not in the exact position described below.
Step 1: Open a Video Project
Launch CapCut and tap New project, or open a draft you already started. Choose the video containing the speech and add it to the editing timeline.
Play the beginning of the clip. If you hear only music and no voice, make sure you have imported the intended media or voiceover track.
Step 2: Find the Auto Captions Tool
Look through the tools along the bottom of the editor and tap Captions, then Auto Captions. In some layouts, the route is Text → Auto Captions. You might need to swipe the toolbar to see it.
Step 3: Select the Spoken Language
Choose the language you hear in the clip. If CapCut offers an audio-source choice, select the track containing the words you want it to recognize. Do not assume that choosing a different language automatically translates your narration; recognition and translation can be separate options.
Step 4: Generate the Captions
Tap Generate (or the equivalent confirmation button). Wait for the tool to process the audio. When it finishes, caption segments should appear in the editor, aligned with portions of the video.
If no captions appear, first confirm that the chosen audio has audible speech and that the selected language matches it. We will cover more common failures in the troubleshooting section below.
Step 5: Correct Words and Timing
Tap a generated caption segment and choose the editing option shown in your version, such as Edit captions. Listen to the clip while reading the words. Fix names, numbers, uncommon terms, missing punctuation, and obvious speech-recognition errors.
For a line that begins too early or stays on screen too long, adjust its segment on the timeline where that control is available. Preview the edited section again with sound.
Step 6: Style and Export
Choose a readable font and sufficient contrast against the footage. Keep captions away from important faces, buttons, and platform interface elements. Play the entire video before tapping Export.
For help choosing resolution and frame rate, see our CapCut export settings guide. Export menus and premium style choices vary between versions.
How to Add Auto Captions in CapCut on PC or Mac
Using a larger screen can make it easier to review many caption segments. The steps below apply to the CapCut desktop editor for Windows and macOS.
Step 1: Import the Video
Open CapCut on your computer, create or open a project, and select Import to add your media. Drag the clip onto the timeline, then play a section to verify the voice track.
Step 2: Open Auto Captions
Choose Captions → Auto Captions in the editor. CapCut also documents a Text → Auto Captions route in some desktop layouts. Use whichever is shown in your installation.
Step 3: Choose the Audio Source and Language
When the options appear, choose the language used by the speaker. If an audio-source selector is available, set it to the narration or source audio you want captioned. Then click Generate, Create, or Recognize, depending on the displayed label.
Step 4: Review the Caption Track
CapCut places the generated caption sections on the timeline. Select a section to correct the wording. Depending on the desktop version, you can double-click a caption or use an Edit Captions control.
Check the beginning and end of each line. A segment that extends into the next sentence can make otherwise correct captions feel out of sync.
Step 5: Make the Style Consistent
Adjust font, size, placement, and contrast. If an Apply to all or batch styling option is available, use it to avoid a different appearance for every line. Confirm the result in the actual video preview rather than judging the captions only in a text panel.
Step 6: Export a Final Video
Preview the first, middle, and last sections, then watch the whole edited video if possible. Choose Export and check the saved result. If you need a separate subtitle file such as SRT instead of text visible in the exported video, check whether your desktop version provides that feature; capabilities vary by version and plan.
Can You Add Auto Captions in CapCut Online?
Yes. CapCut’s web editor also offers automatic caption generation. Open or upload a video in the official CapCut web editor, find Captions → Auto Captions, select the spoken language, and choose Generate. Correct the text and timing before exporting.
This can be useful if you are working on a shared computer, but processing and available export features can differ from the installed app.
How to Make Auto Captions More Accurate
Even a short video can contain words that speech recognition gets wrong. Consider this example:
Spoken sentence: “Open the project, select the second clip, and lower its volume.”
Possible automatic draft: “Open the project select the second clip and lower it’s volume.”
Corrected caption: “Open the project, select the second clip, and lower its volume.”
The difference is small, but changing punctuation and “it’s” to “its” makes the instruction clearer. This is an illustrative example, not the result of a product test.
- Check proper nouns first. Names, product names, and place names often need manual correction.
- Shorten crowded lines. A caption that covers several sentences is hard to read, especially on a phone.
- Split at natural pauses. Try to make each caption appear while its corresponding phrase is spoken.
- Keep text visible. Use strong contrast and avoid positioning captions underneath social-app buttons or lower-screen labels.
- Listen, don’t just read. A caption can be spelled correctly and still appear at the wrong moment.
For a bilingual video or a clip with two speakers talking over each other, double-check every sentence. Automatic segmentation and multilingual support depend on the specific feature available in your CapCut version.
Auto Captions Not Working? Start With These Checks
If CapCut fails to recognize speech, do not delete the original project just to try again. Check the simple causes first:
- Play the clip and confirm there is audible speech.
- Make sure the correct speech language is selected.
- Temporarily reduce competing music if it is drowning out the voice.
- Check your internet connection and retry when it is stable.
- Update CapCut through an official app store or the developer’s official website if your version is outdated.
- Restart the editor and try a short sample clip to see whether the issue affects one file or the feature generally.
If a caption is generated but the words are wrong, edit the text rather than repeatedly rerunning the same unclear audio. CapCut’s official auto-caption troubleshooting guide documents other possible causes.
Frequently Asked Questions
Are auto captions free in CapCut?
The basic auto-caption function is documented for mobile, desktop, and web, but CapCut’s available features, usage limits, styling options, and subscription requirements can differ by version or region. Check what your own editor offers before assuming every caption style or advanced feature is included for free.
Can I edit auto captions after generating them?
Yes. CapCut provides ways to correct generated words and adjust caption segments across its supported editors. Look for a caption segment on the timeline and an Edit captions or similar control.
Why are my CapCut auto captions inaccurate?
Speech recognition may struggle with unclear audio, loud background music, overlapping speakers, accents, and unfamiliar words. Start with the audio quality and selected language, then review the output manually.
Do CapCut auto captions need the internet?
CapCut says its captioning feature can rely on cloud processing, so connectivity can affect generation. Keep a stable connection available when you use the tool, even if the underlying video project is stored locally.
Can I download auto captions as an SRT file?
Some desktop or web workflows offer separate subtitle-file options, but exporting an SRT is not the same as exporting a video with visible captions. Check the export options in your specific version. Do not assume mobile offers the same subtitle-file functions as desktop.
Final Checklist Before You Publish Your Video
- The captions reflect what the speaker actually says.
- Names, numbers, and punctuation have been checked.
- Each caption appears at the appropriate time.
- Font and placement are easy to read on a phone.
- The exported video includes the intended captions and sound.
Bottom line: Adding auto captions in CapCut is usually quick: import a clip, choose the captions tool and spoken language, generate text, then correct and export. Spending a little extra time reviewing the words and timing will make the result more useful than simply accepting the automatic draft.
Official References and Editorial Notes
- CapCut Help: How to recognize subtitles — platform-specific caption steps.
- CapCut Help: Fix inaccurate auto captions — editing and correction guidance.
- CapCut Help: Auto captions not working — common failure reasons.
Editorial note (November 3, 2026): This independent guide was researched using official CapCut documentation. The instructions were not presented as firsthand device testing. CapCut menus, prices, supported languages, and feature availability may change.
[…] you have never used this feature, our step-by-step guide to adding auto captions in CapCut explains the complete setup on mobile and […]
[…] If you still need help making the captions in the first place, start with our CapCut auto captions tutorial for mobile and PC. […]